
How to Install a Cage Nut in Square Rack Holes Step by Step
When setting up a server rack or network cabinet, many users encounter square rack holes that require cage nuts for mounting equipment. Knowing how to install a cage nut correctly not only saves time but also prevents injuries and equipment damage.
As a professional fastener supplier, XINCHI is pleased to share the full cage nut installation process, covering both plier-assisted and manual methods, along with safety tips and hole-matching precautions.

Tools Required for Cage Nut Installation
Before starting cage nut installation, prepare the following:
- Correct size cage nuts and screws (metric or UNC, depending on your rack).
- Cage nut pliers (recommended for efficiency).
- Flat-head screwdriver (for manual method).
- Protective gloves and safety glasses.
- Flashlight for working in darker rack areas.
How to Install a Cage Nut with Pliers
The easiest method of cage nut installation is to use cage nut pliers:
- Wear gloves and safety glasses.
- Hold the cage nut so the threaded part faces the screw entry side.
- Use pliers to compress the cage wings.
- Push the cage nut into the square hole until it snaps into place.
- Release the pliers and check that the nut is secure.
- Insert and hand-tighten the screw to verify proper alignment.
This method is quick, safe, and recommended when you need to install multiple cage nuts.
How to Install a Cage Nut Manually
If pliers are not available, it is still possible to install a cage nut manually is still possible:
- Put on gloves to avoid cuts.
- Insert one wing of the cage nut into the square hole.
- Use a screwdriver to compress the other wing and push it through.
- Wiggle the cage until it locks into place.
- Check that the nut is stable before tightening screws.
Safety note: Manual cage nut installation may pinch fingers; always wear protective gloves.
Safety Precautions for Cage Nut Installation
- Always confirm the hole size and cage nut type before installing.
- Avoid forcing mismatched nuts into rack holes.
- Keep hands clear of sharp cage edges during cage nut installation.
- Do not overtighten screws to prevent thread damage.
Final Tips for Successful Cage Nut Installation
- Start screws by hand before tightening to avoid cross-threading.
- Use proper screw length to engage the nut fully.
- Keep spare cage nuts and pliers available for quick replacements.
- For frequent equipment changes, consider using tool-less or captive nuts.
Learning how to install a cage nut step by step ensures safe and efficient rack assembly. Whether using pliers or installing manually, proper cage nut installation prevents equipment damage, improves safety, and guarantees a secure fit. With the right tools and precautions, anyone can install cage nuts quickly and reliably.
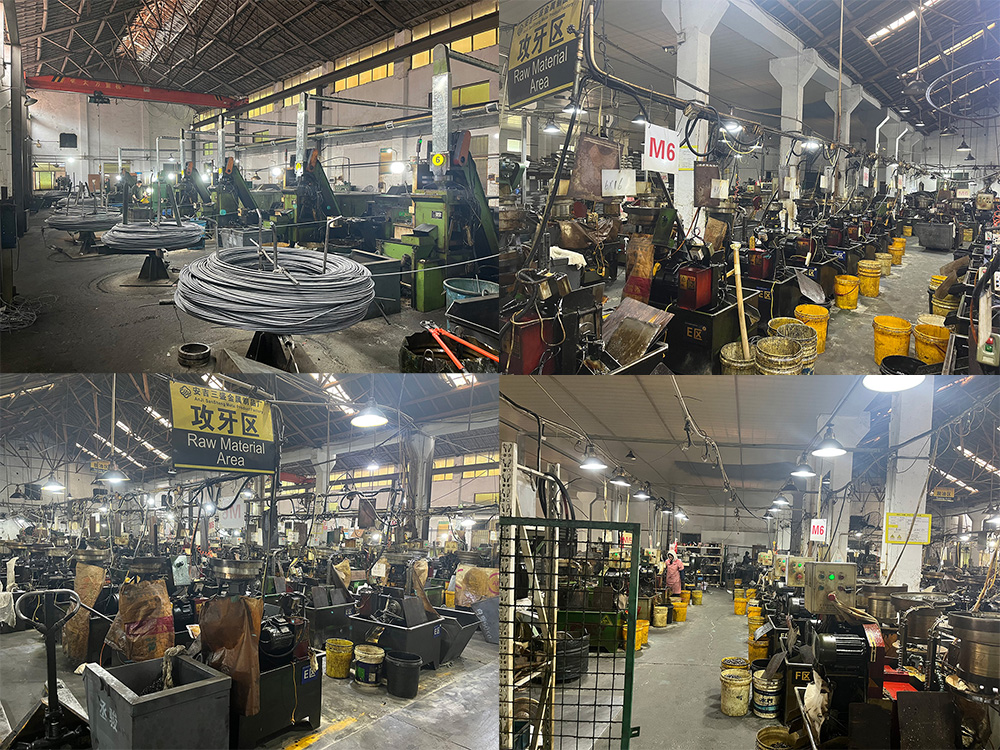
XINCHI is a trustworthy fastener company, especially in furniture nuts. We have a factory, founded in 2007. We are the designated fastener supplier to“STAPLE”. As a trusted fastener supplier, XINCHI offers a wide range of high-quality fasteners, including nuts, screws, bolts, rivets, and washers. If you would like to learn more about fasteners or are interested in wholesale fasteners, please do not hesitate to contact us. Our experienced and expert service team will reply as soon as possible.